Tags
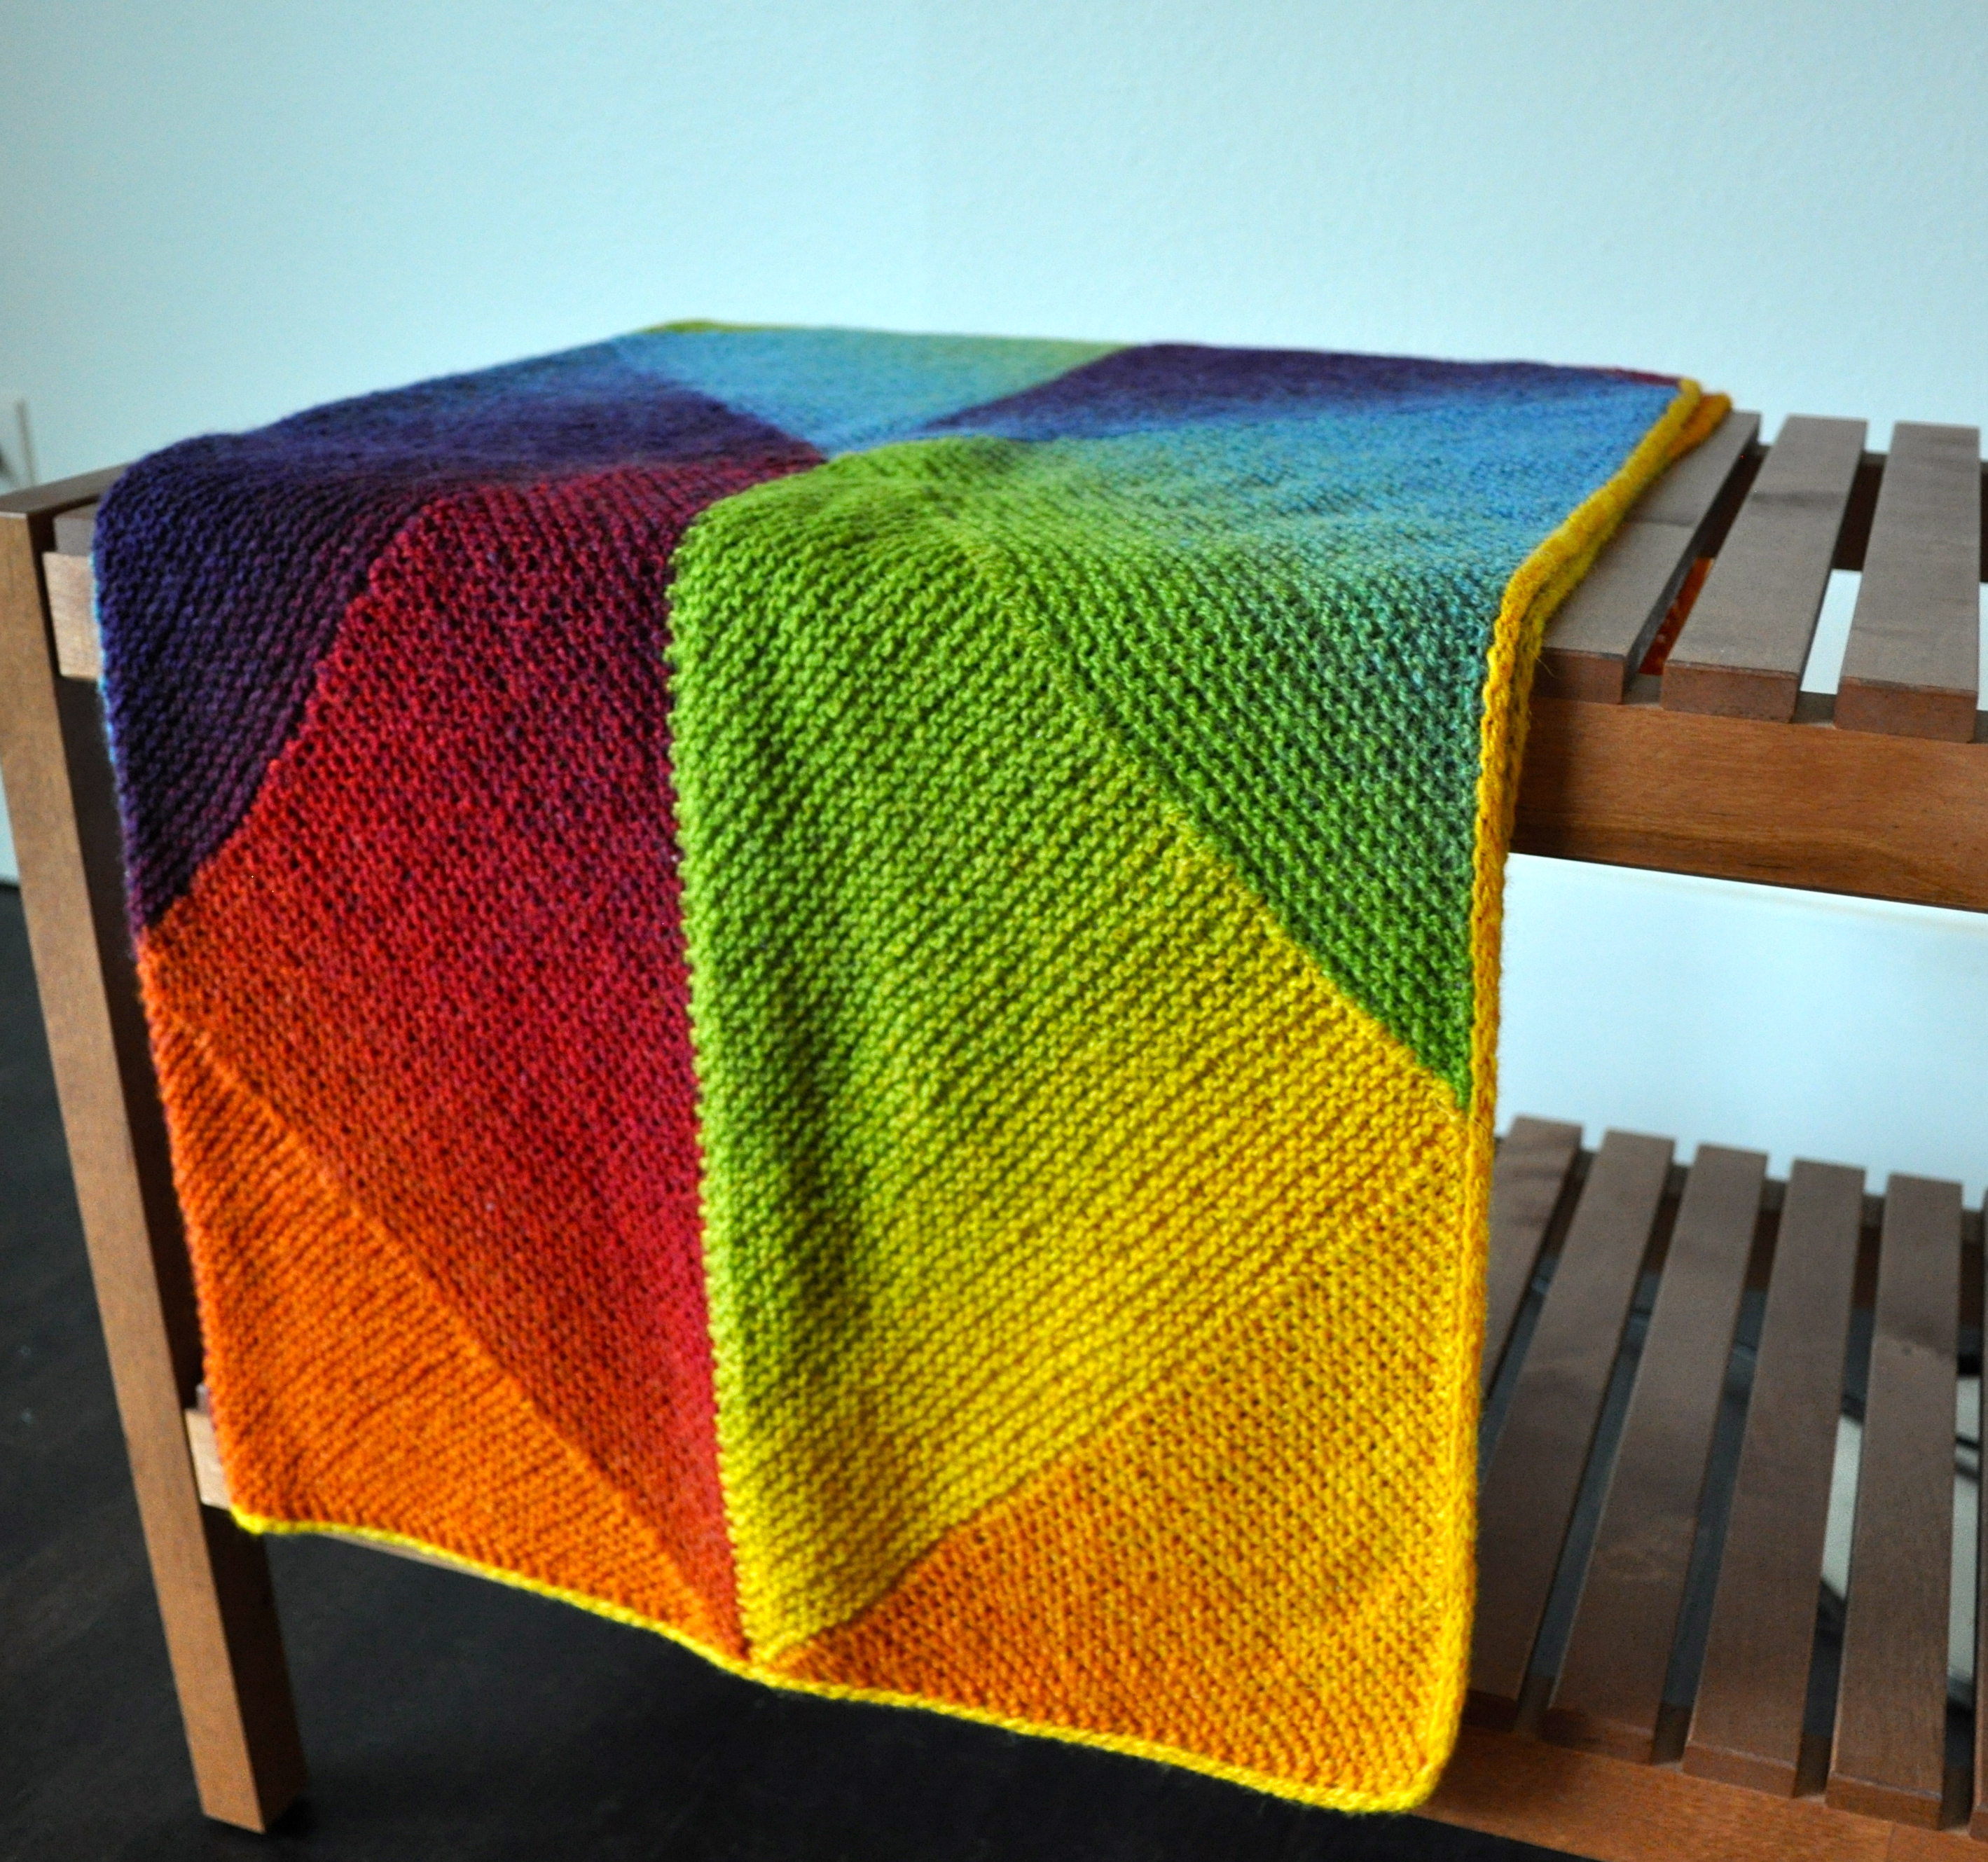
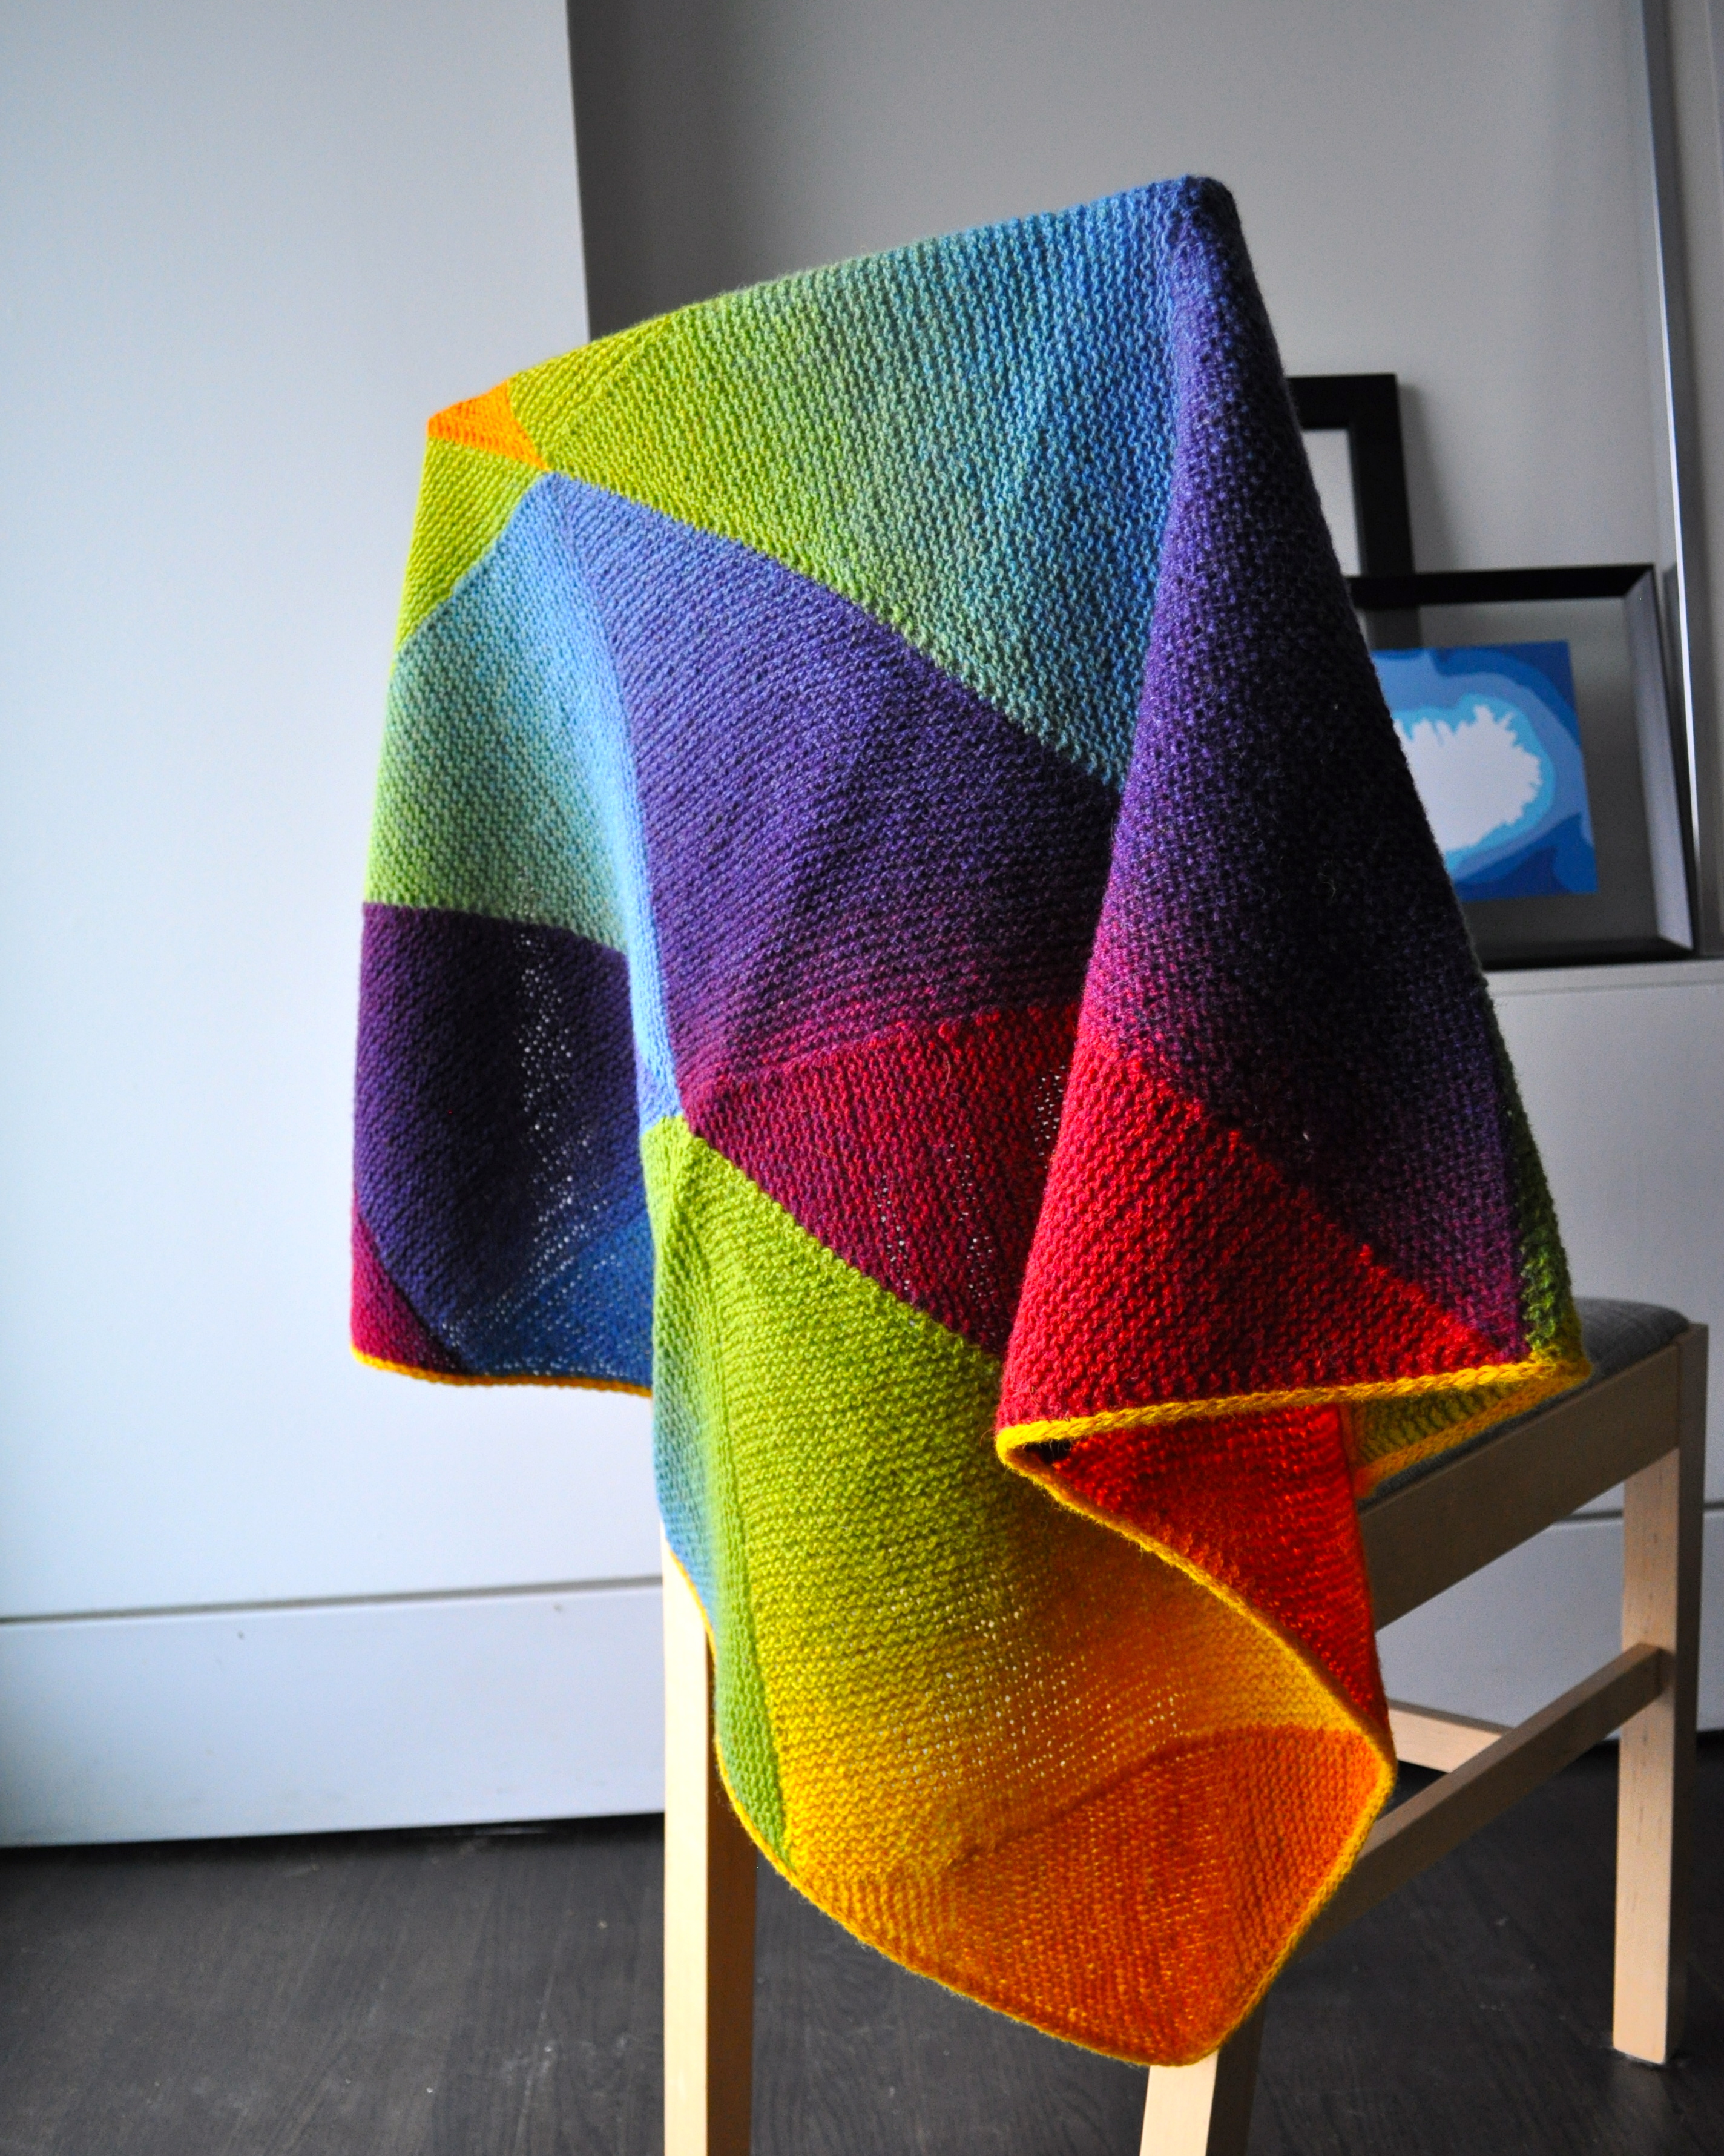 As I mentioned in my previous post, the friend who taught me how to knit (over 10 years ago!) recently had a little baby boy. I knew that I had to make something really special for this little guy, and since I happen to know that his mother loves colors I wanted something really bright! After seeing this project on Ravelry, I couldn’t get it out of my head. The original project was basically created by stitching together five short Multidirectional Diagonal Scarves.
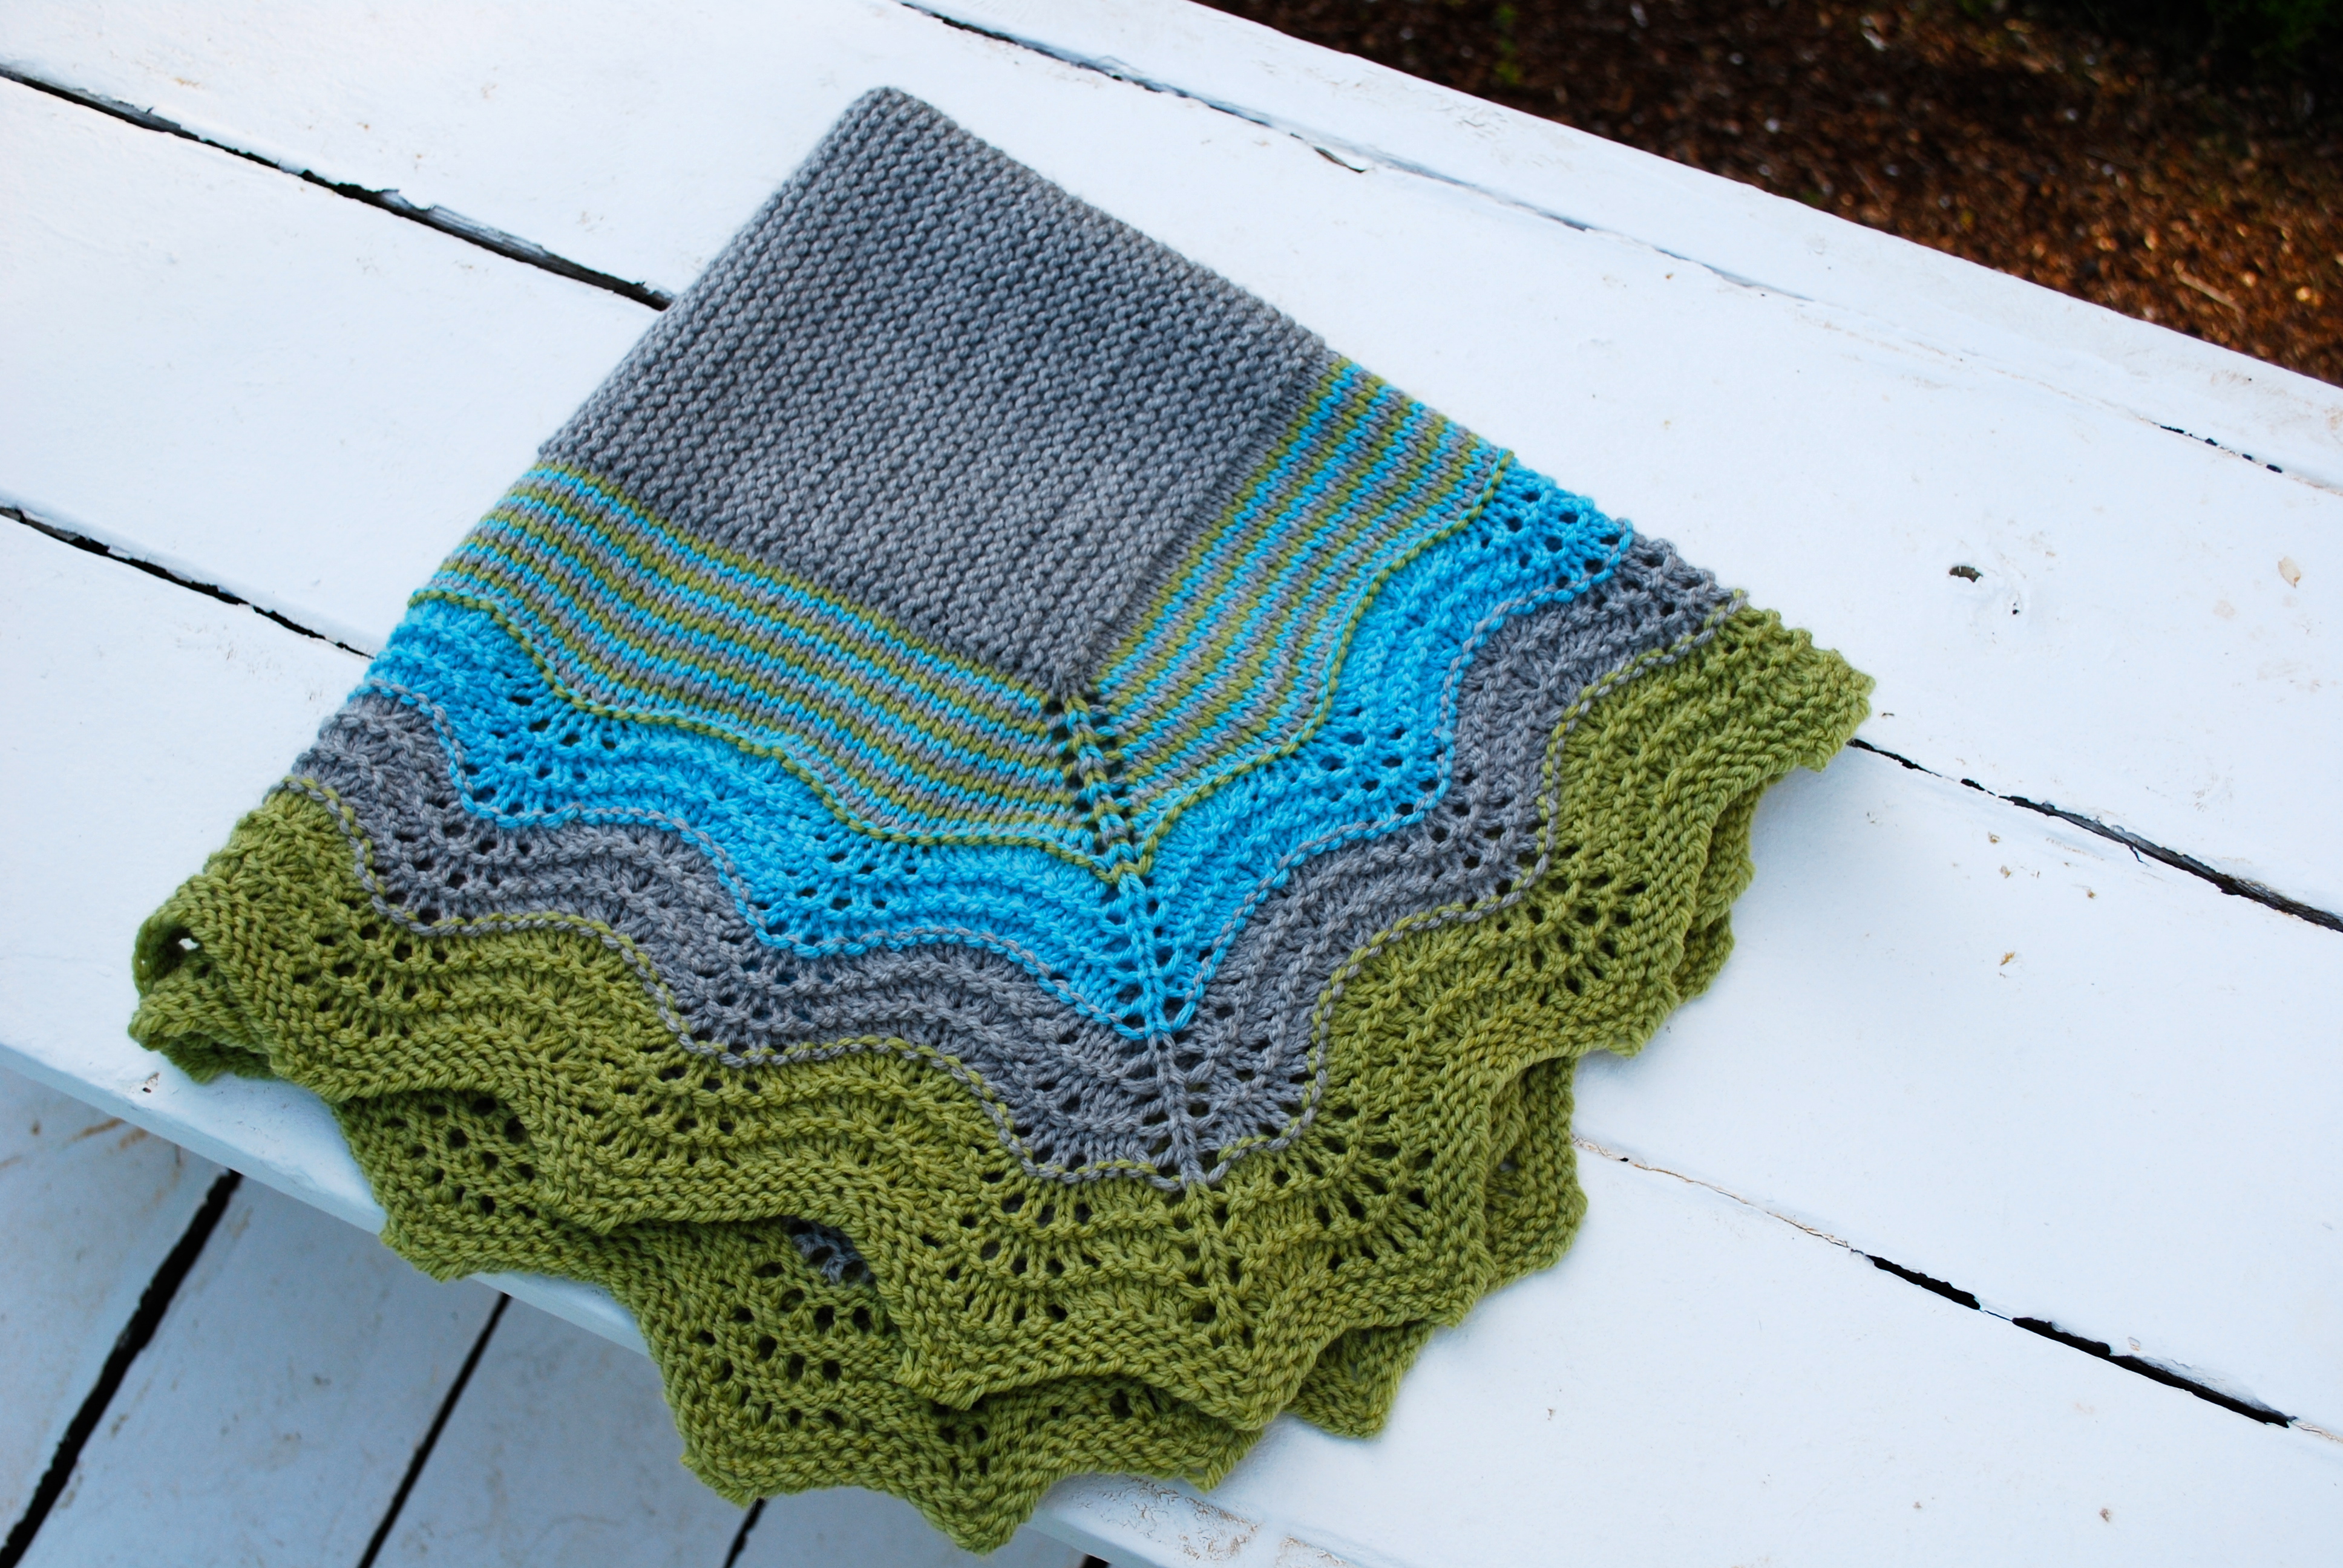
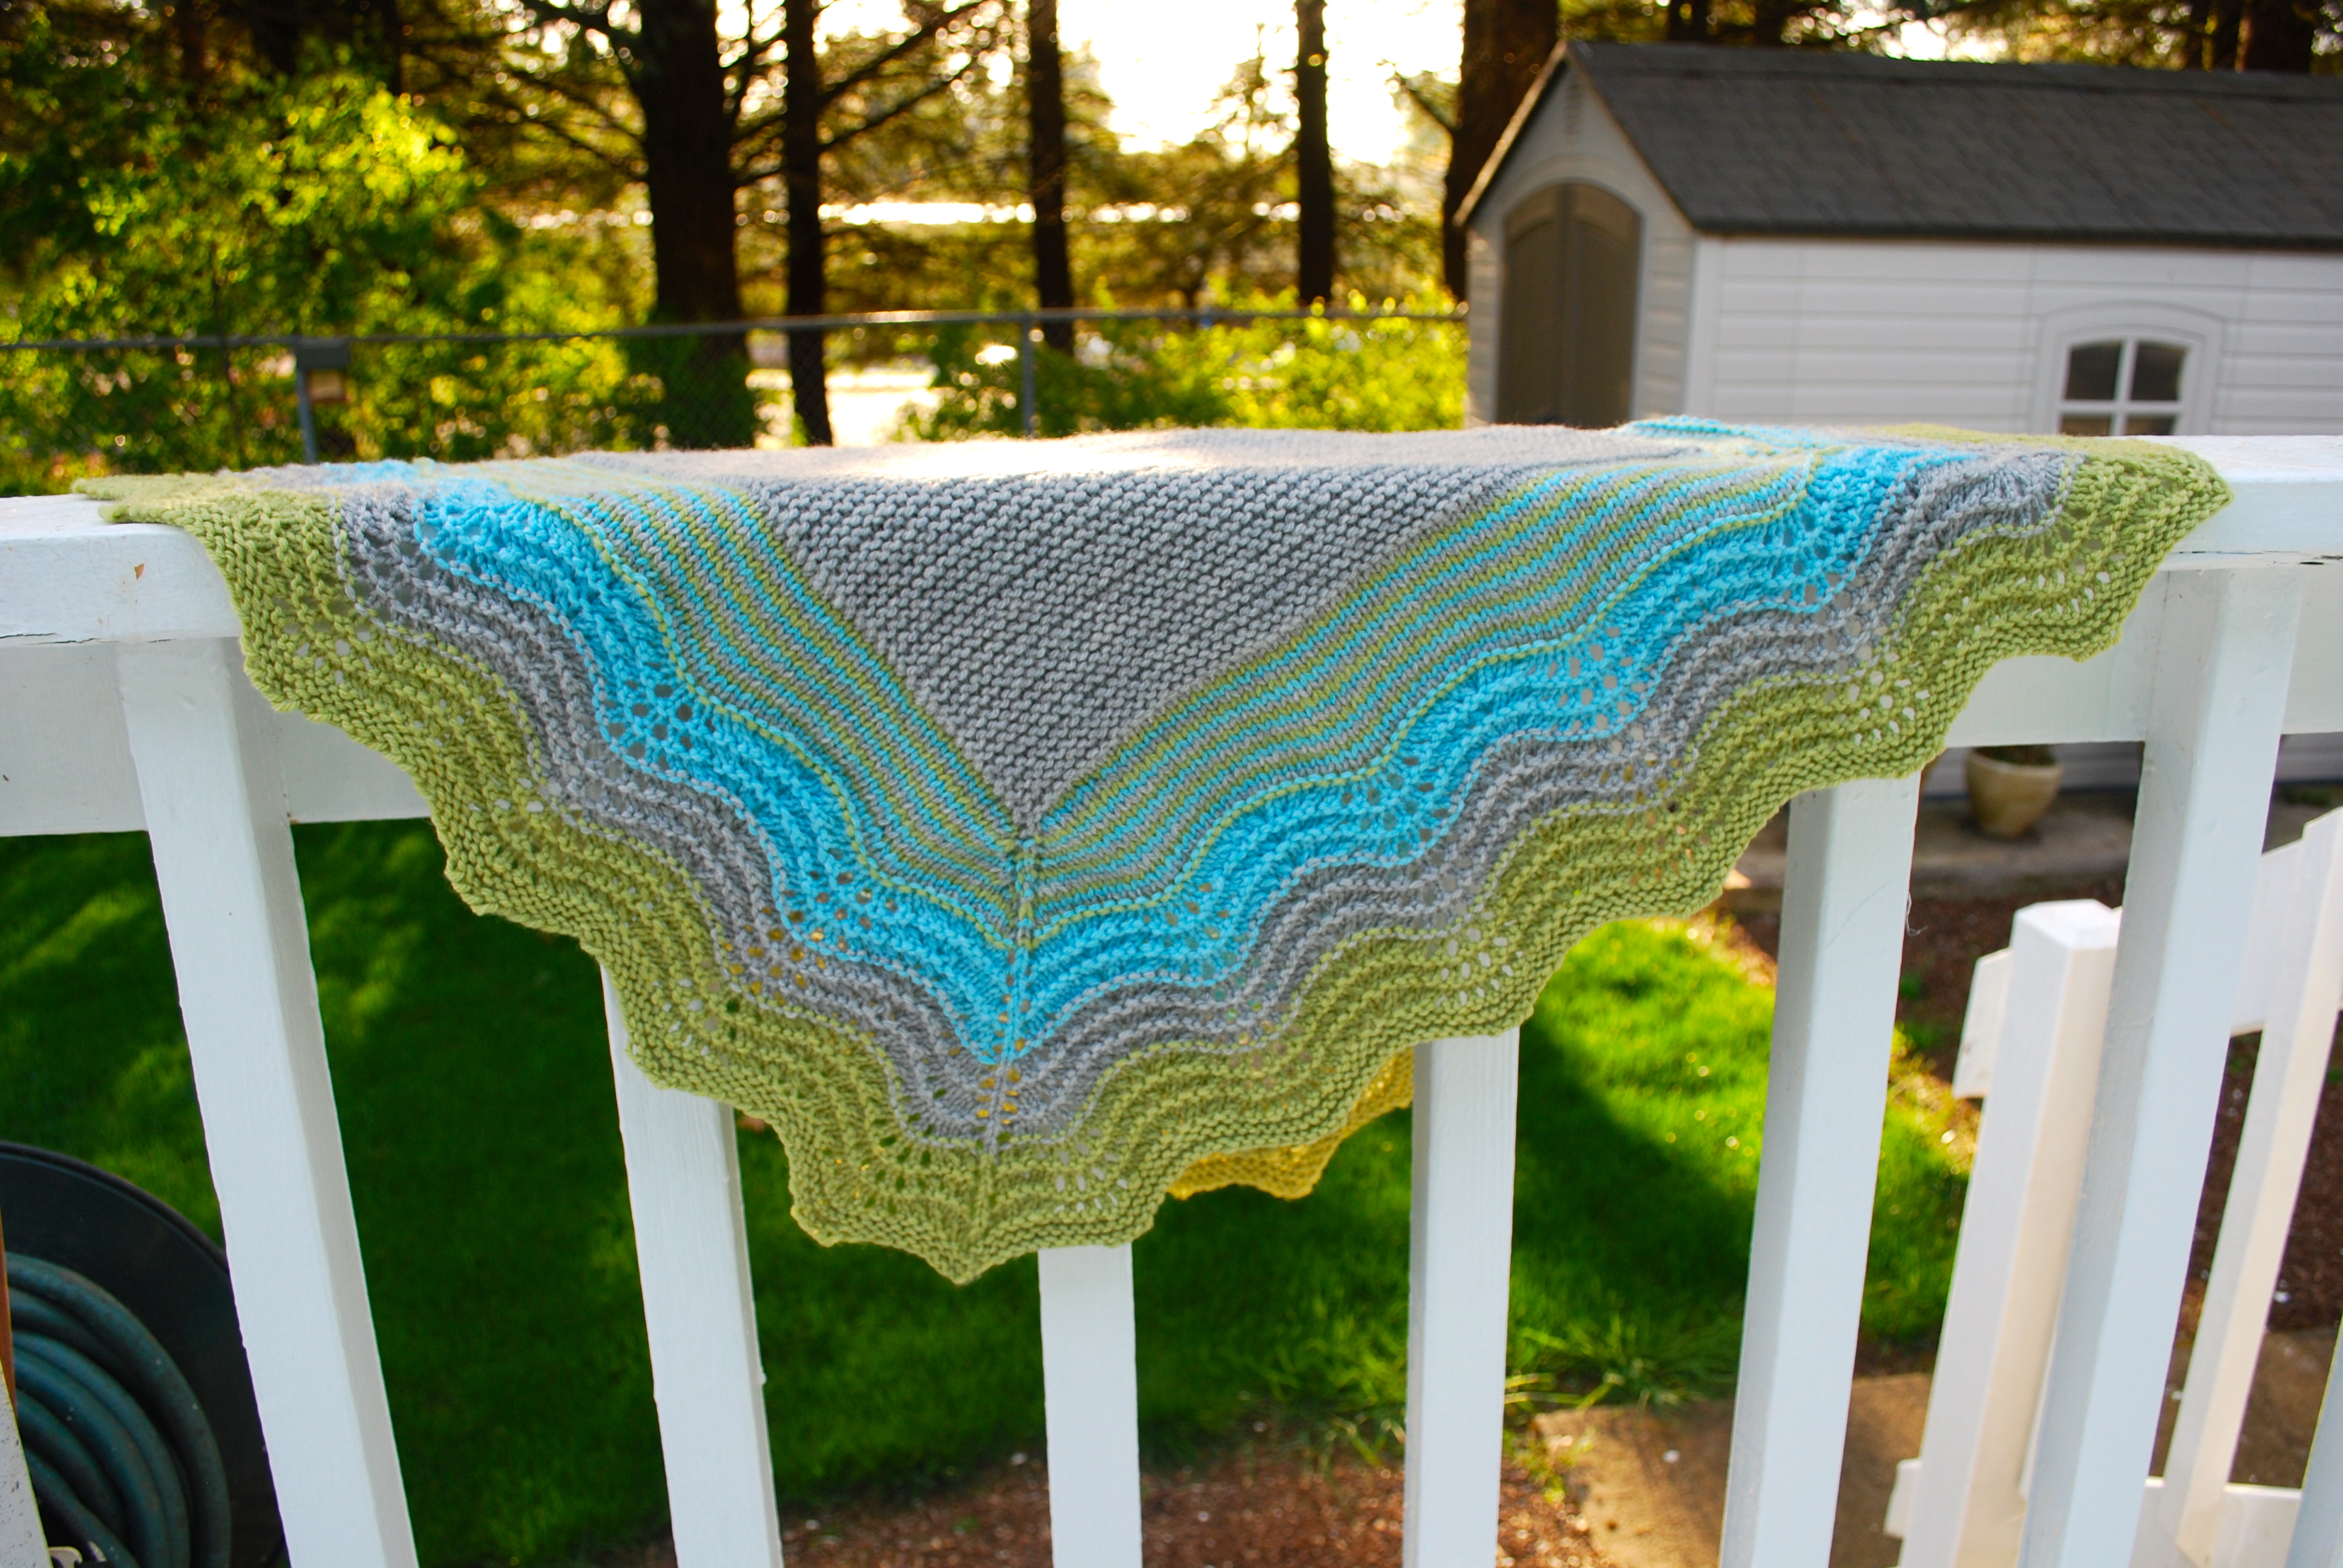
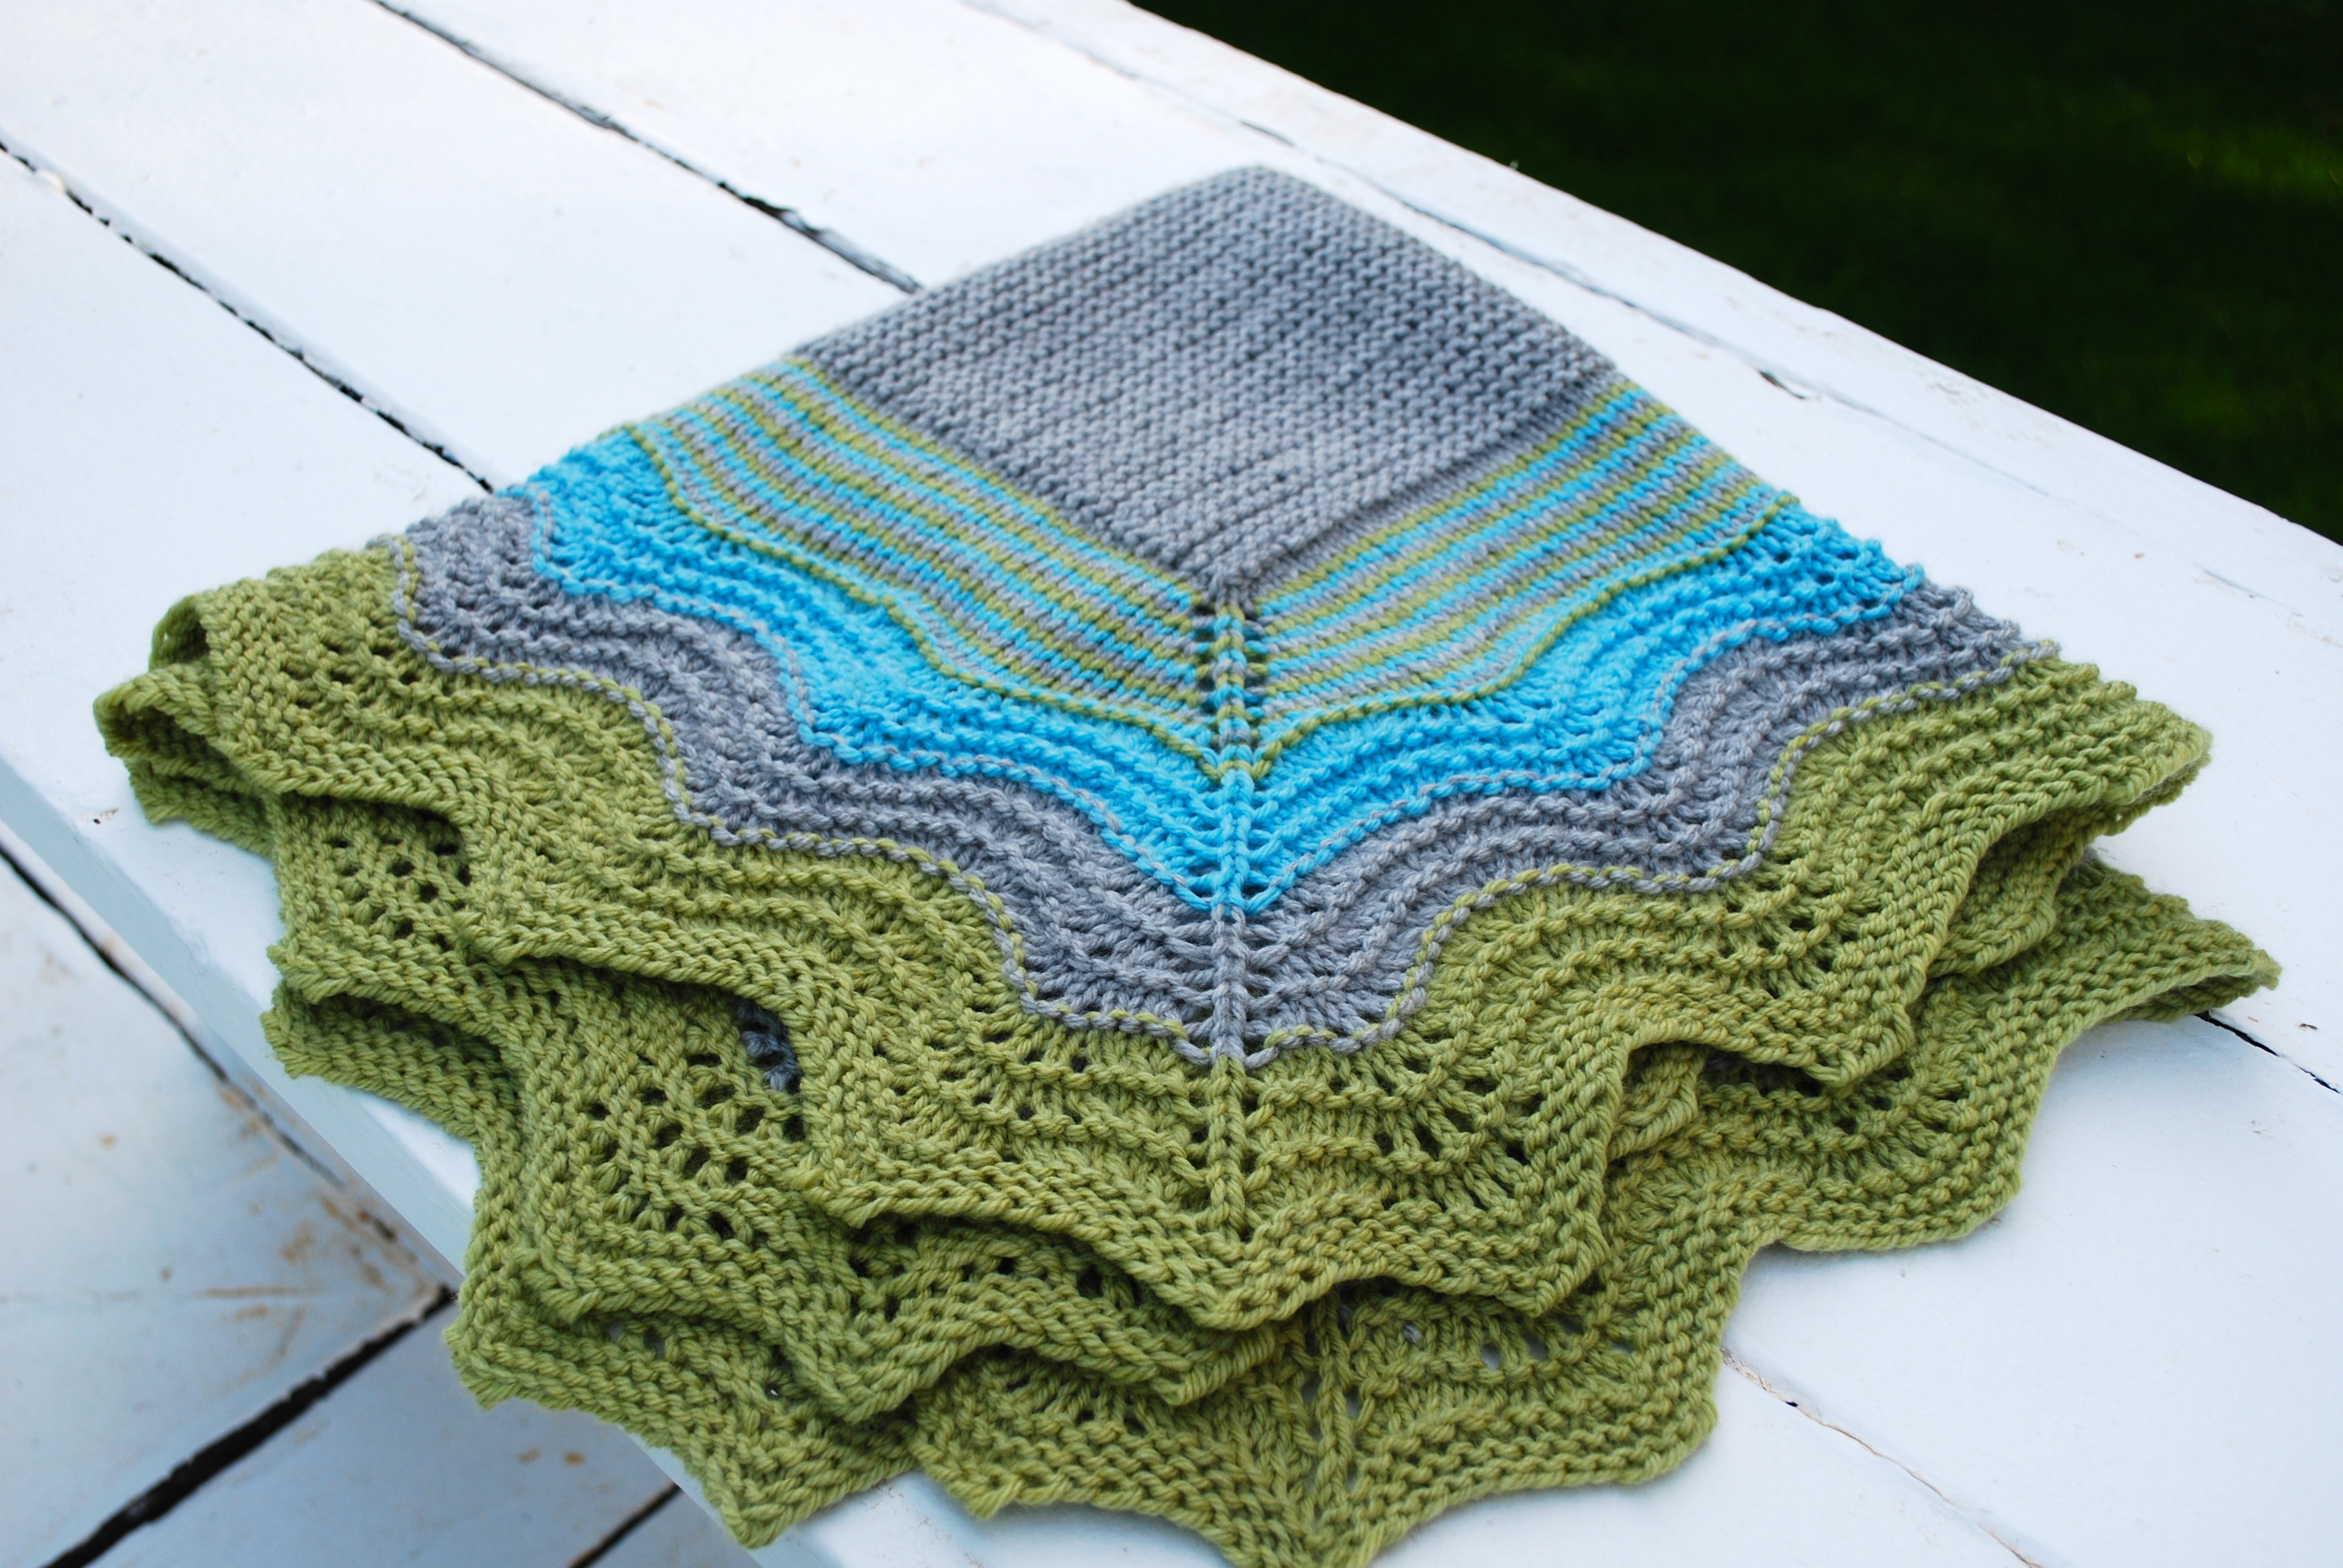
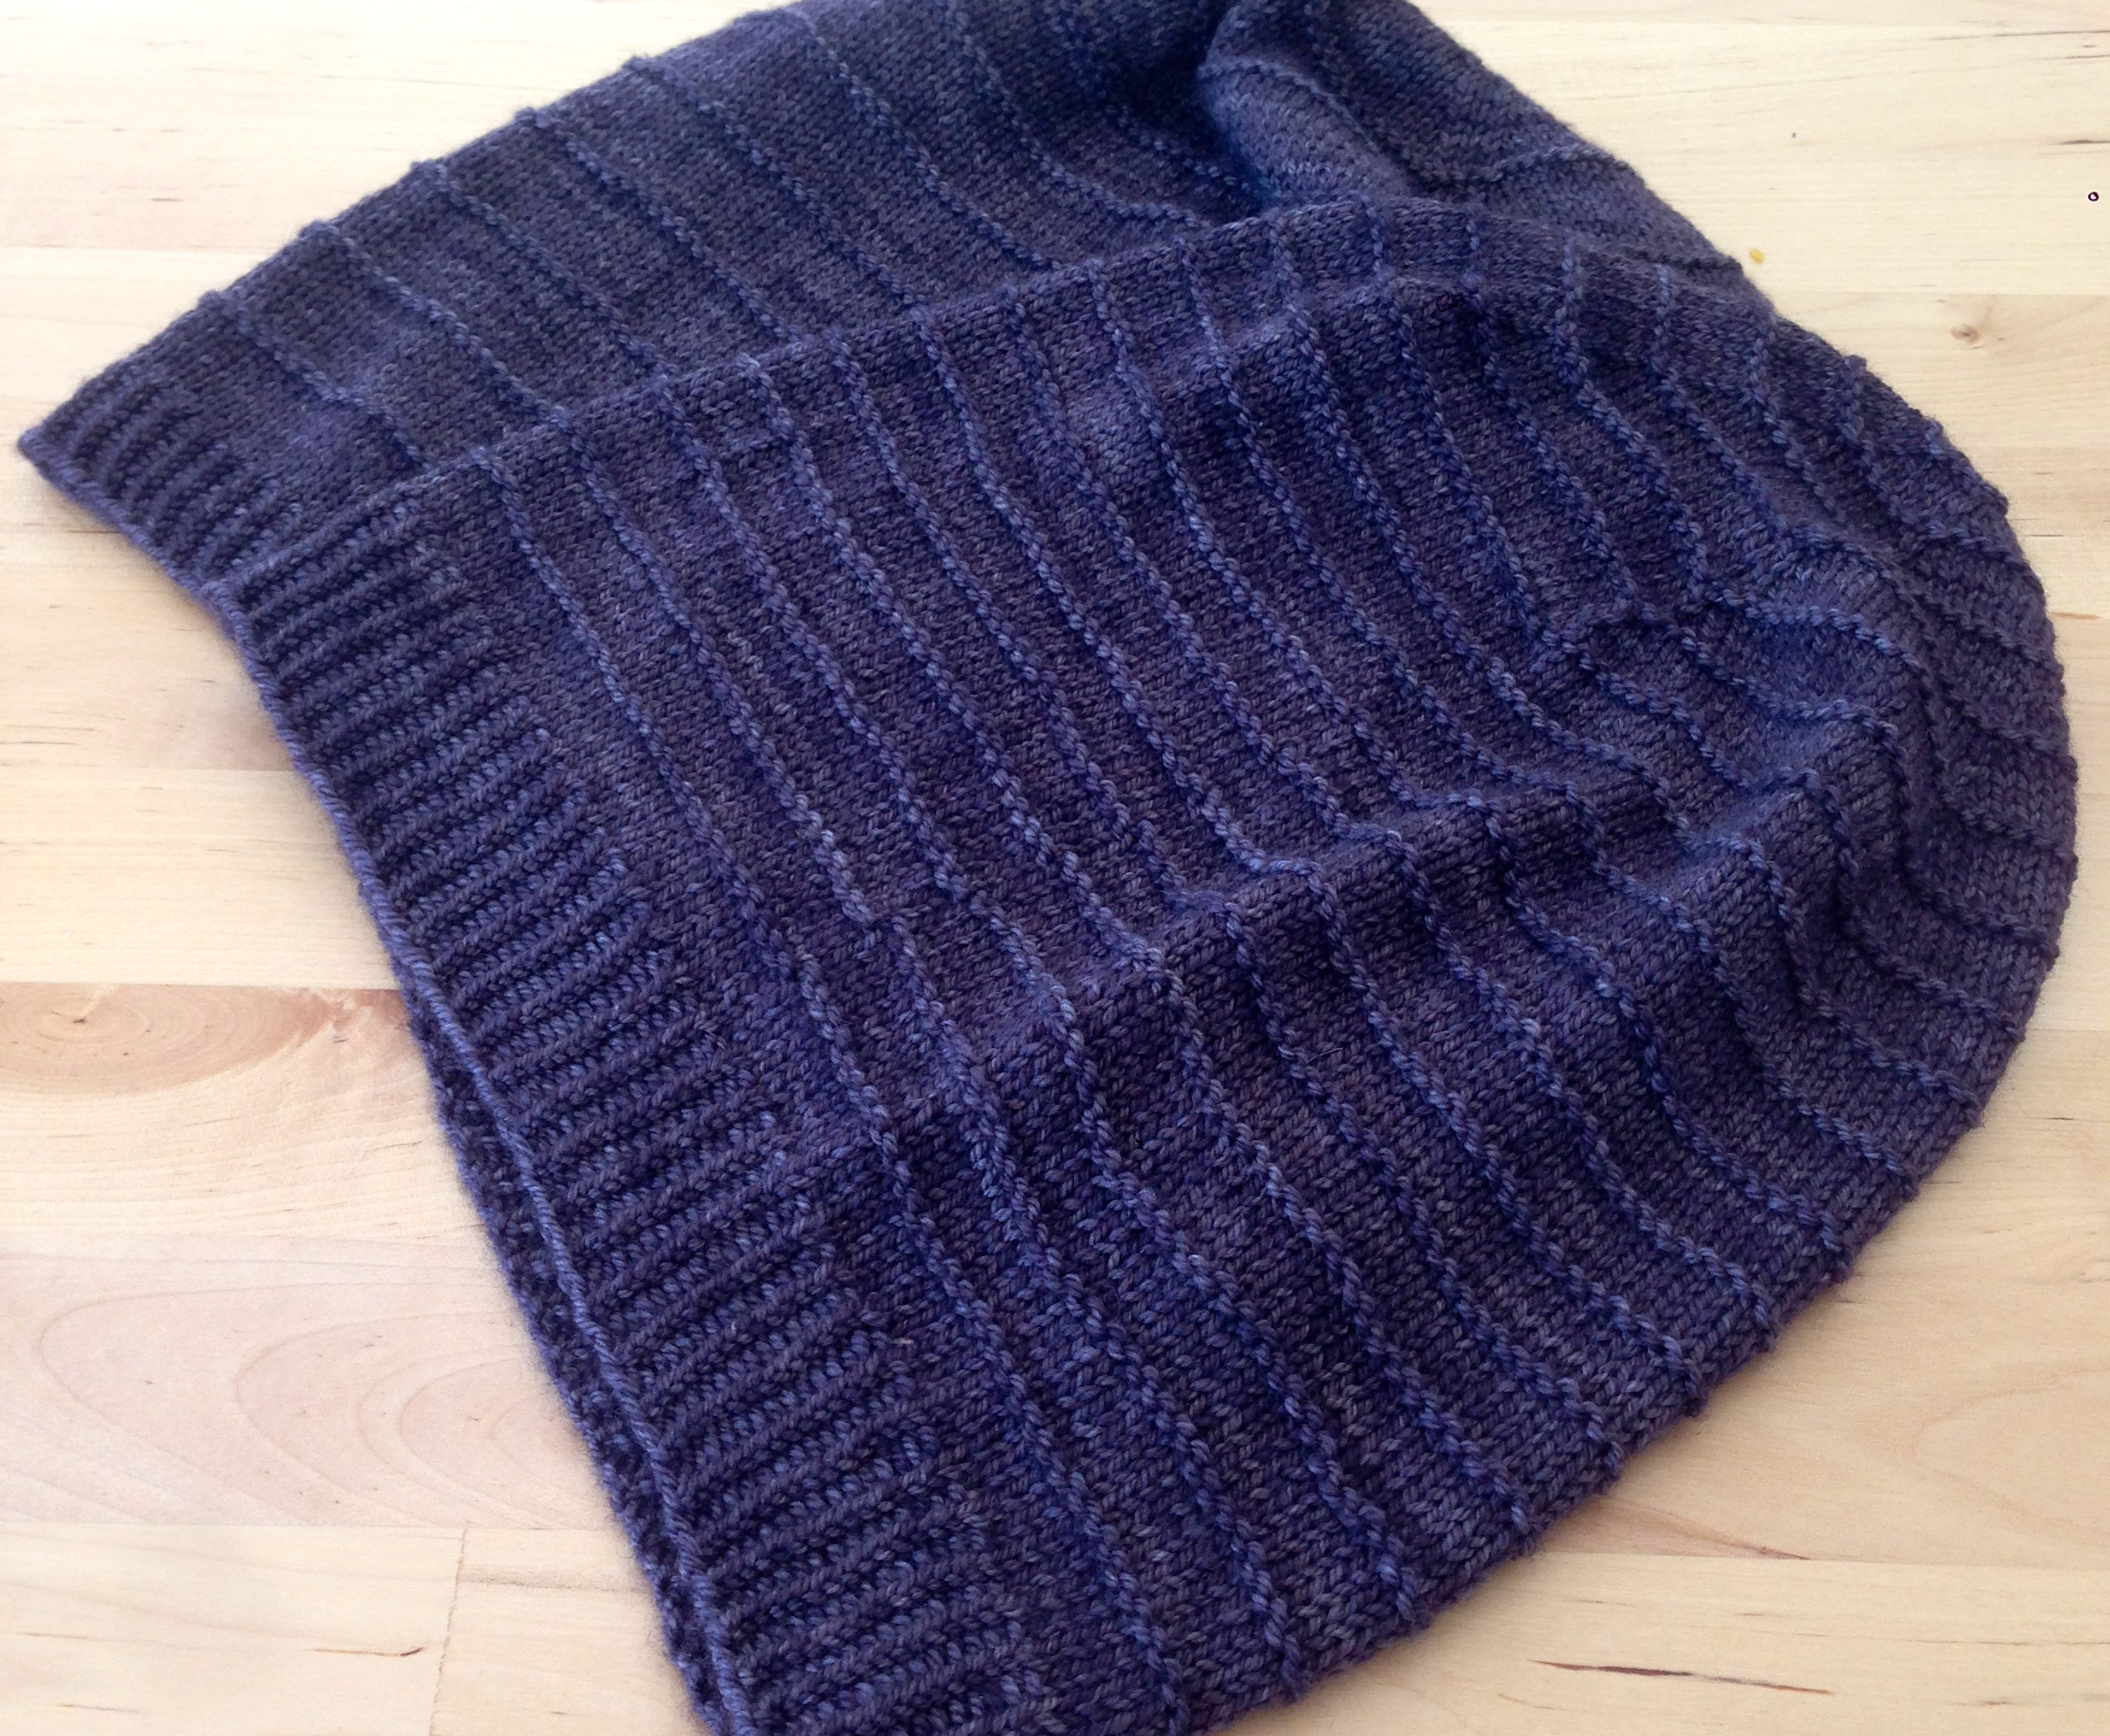
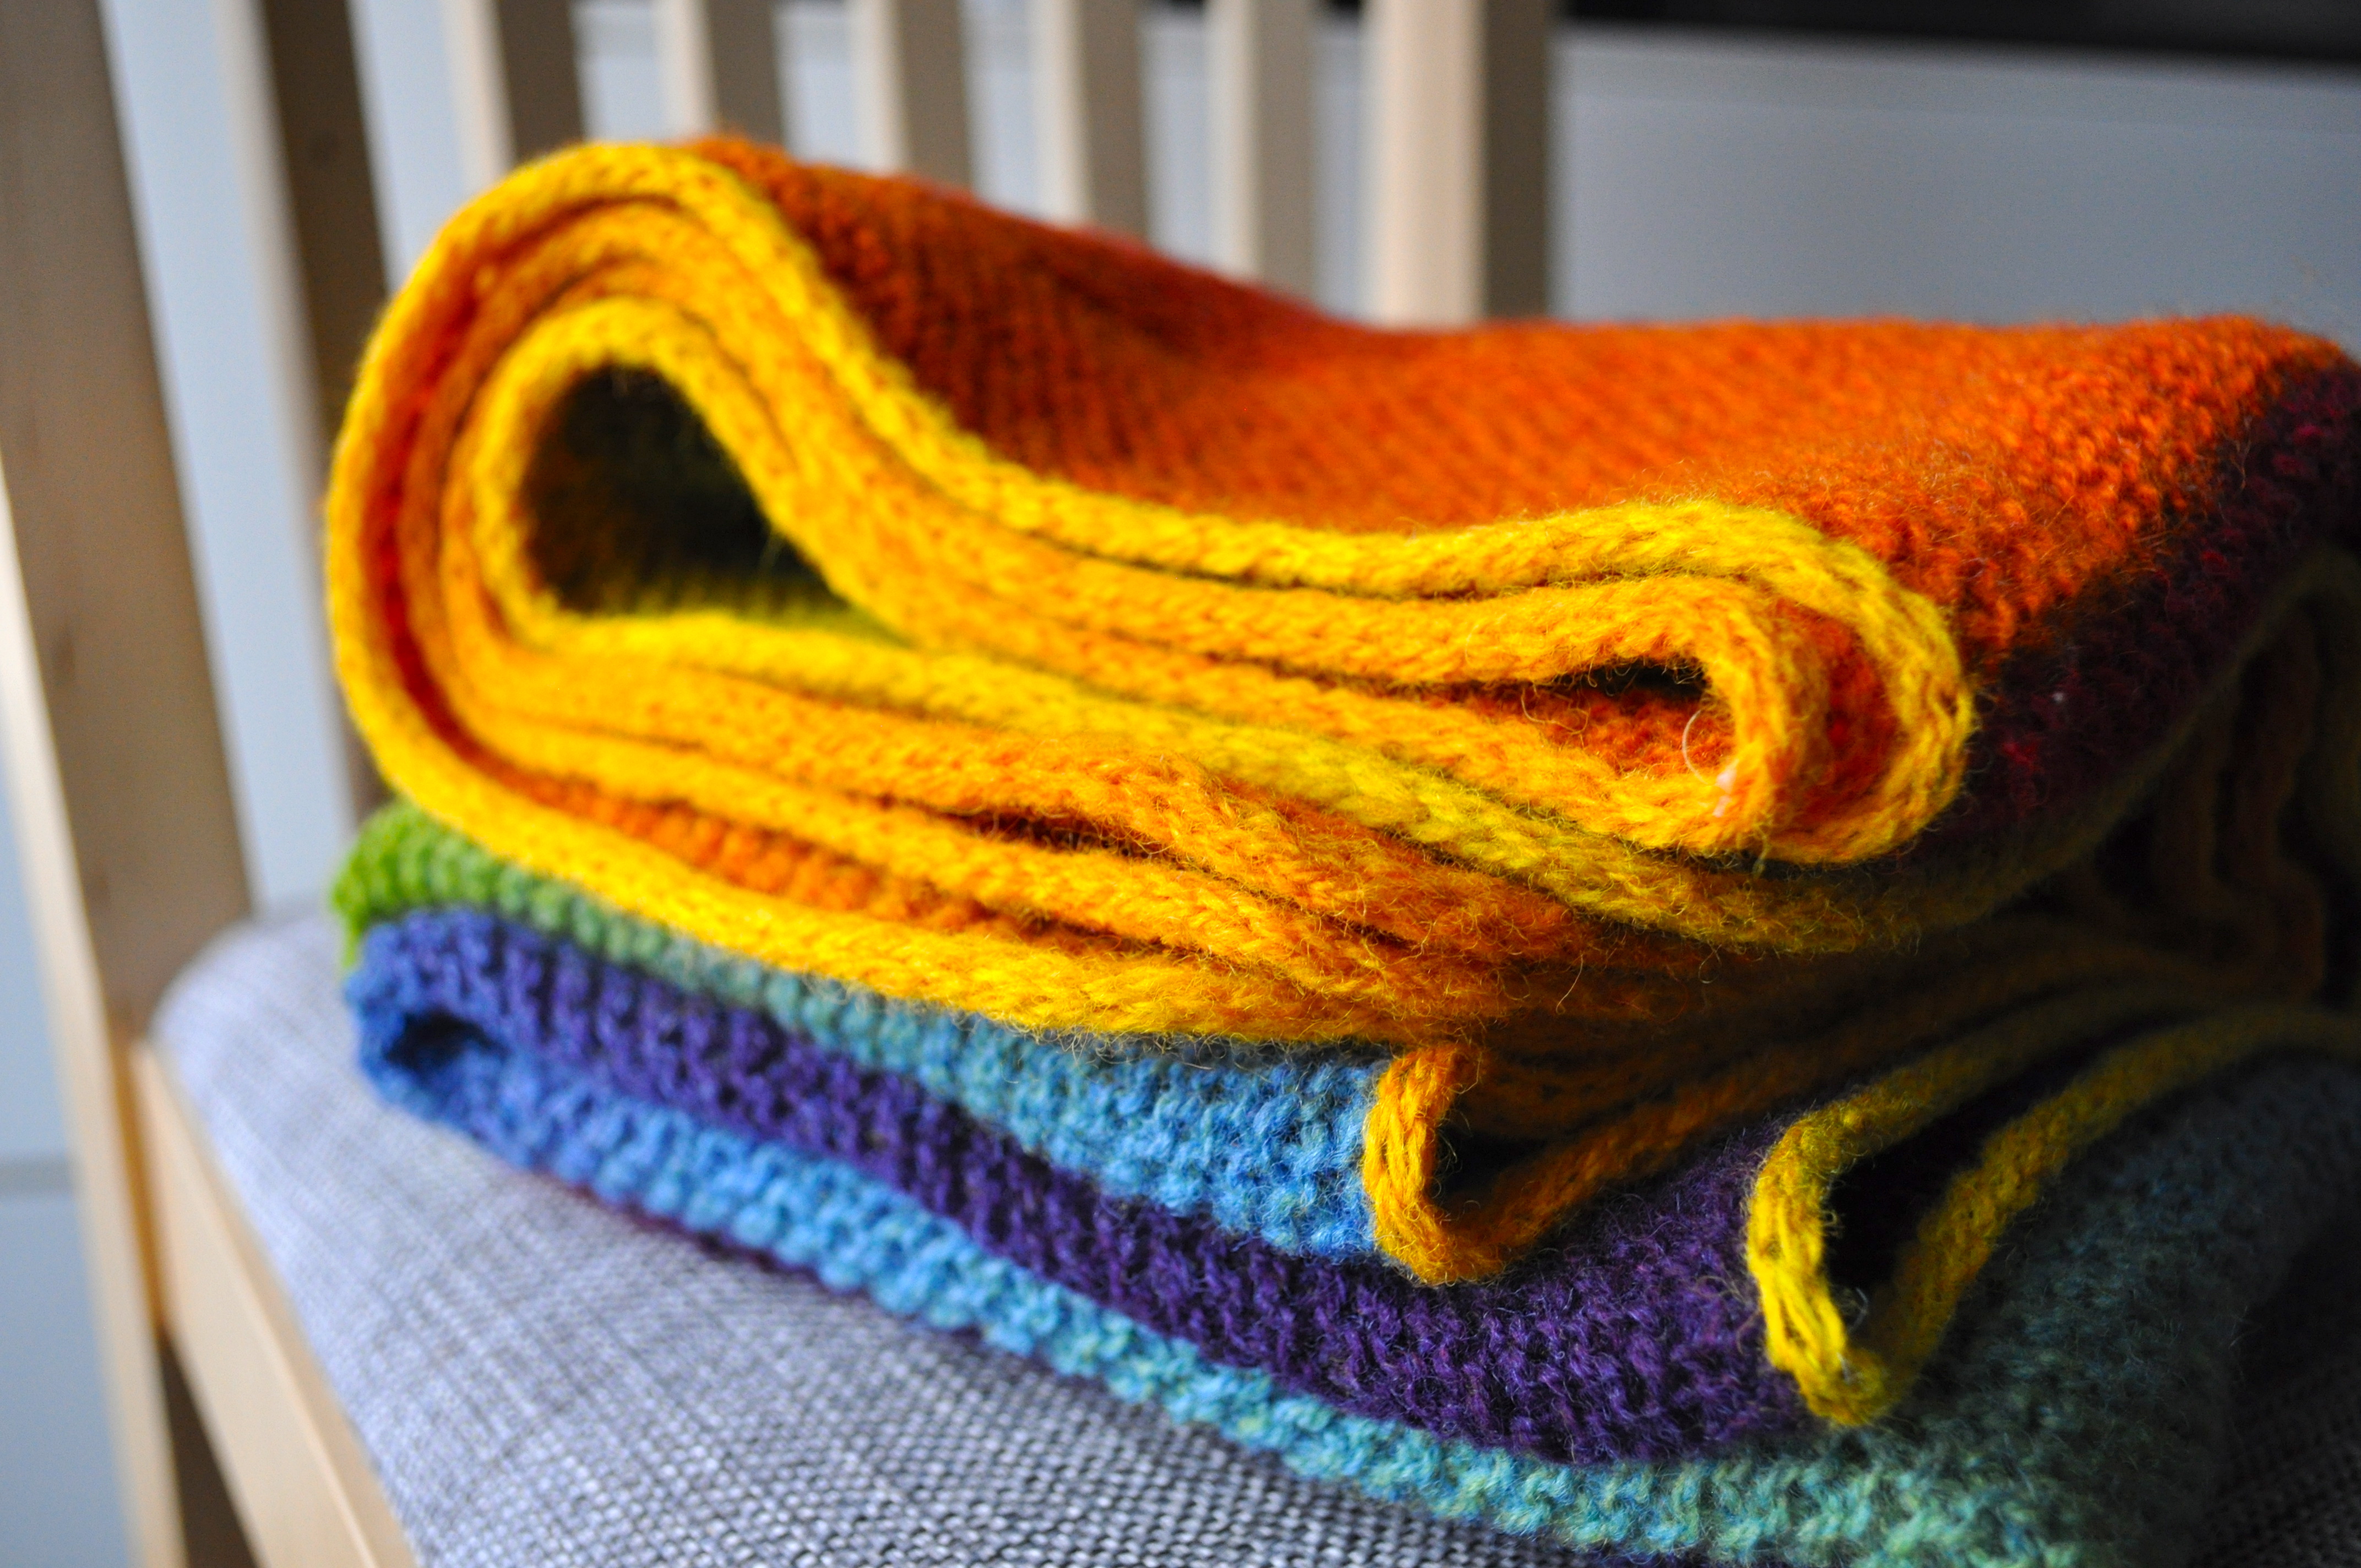
 I did pretty much the same thing, except that I joined the “scarves” while I was knitting. When I got to the edge where I wanted to join together two of the strips, I would knit until 1 stitch from the end, slip the last stitch, knit into the edge of the other strip, then pass the slipped stitch over. This created a nice join between the two pieces. When I was finished, I knitted an attached i-cord edging in the bright yellow color, which sort of ended up as my favorite part!
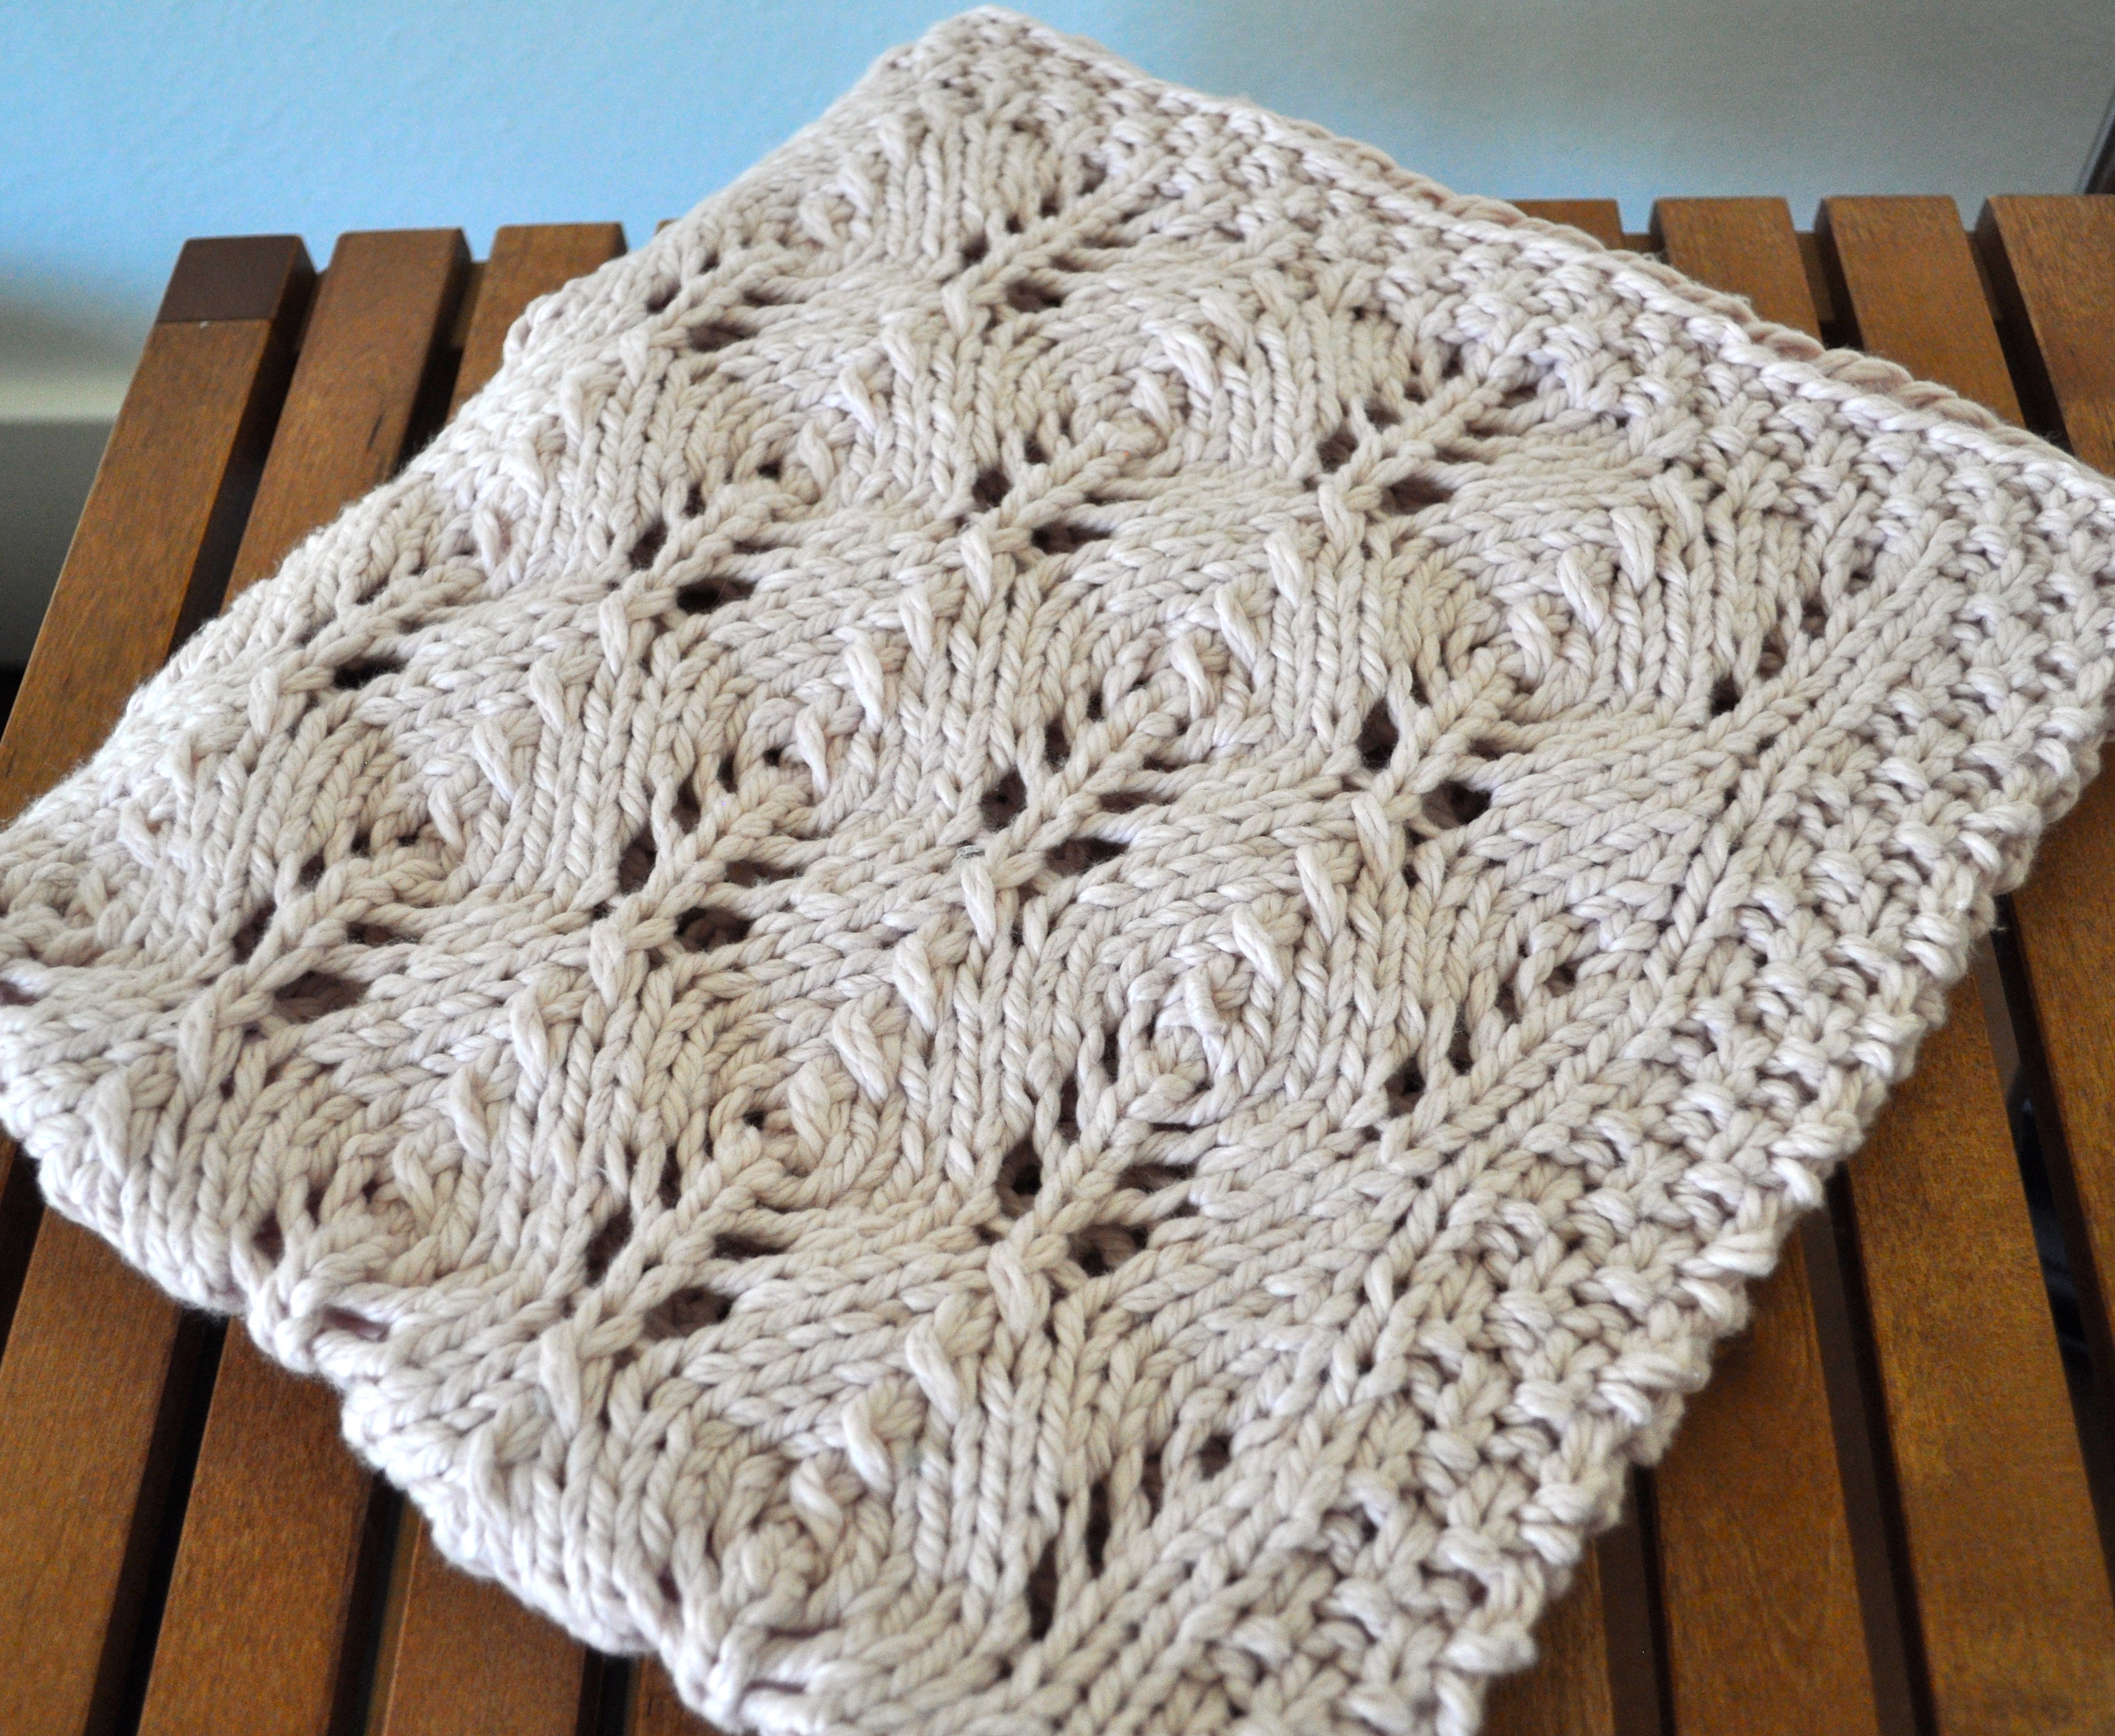
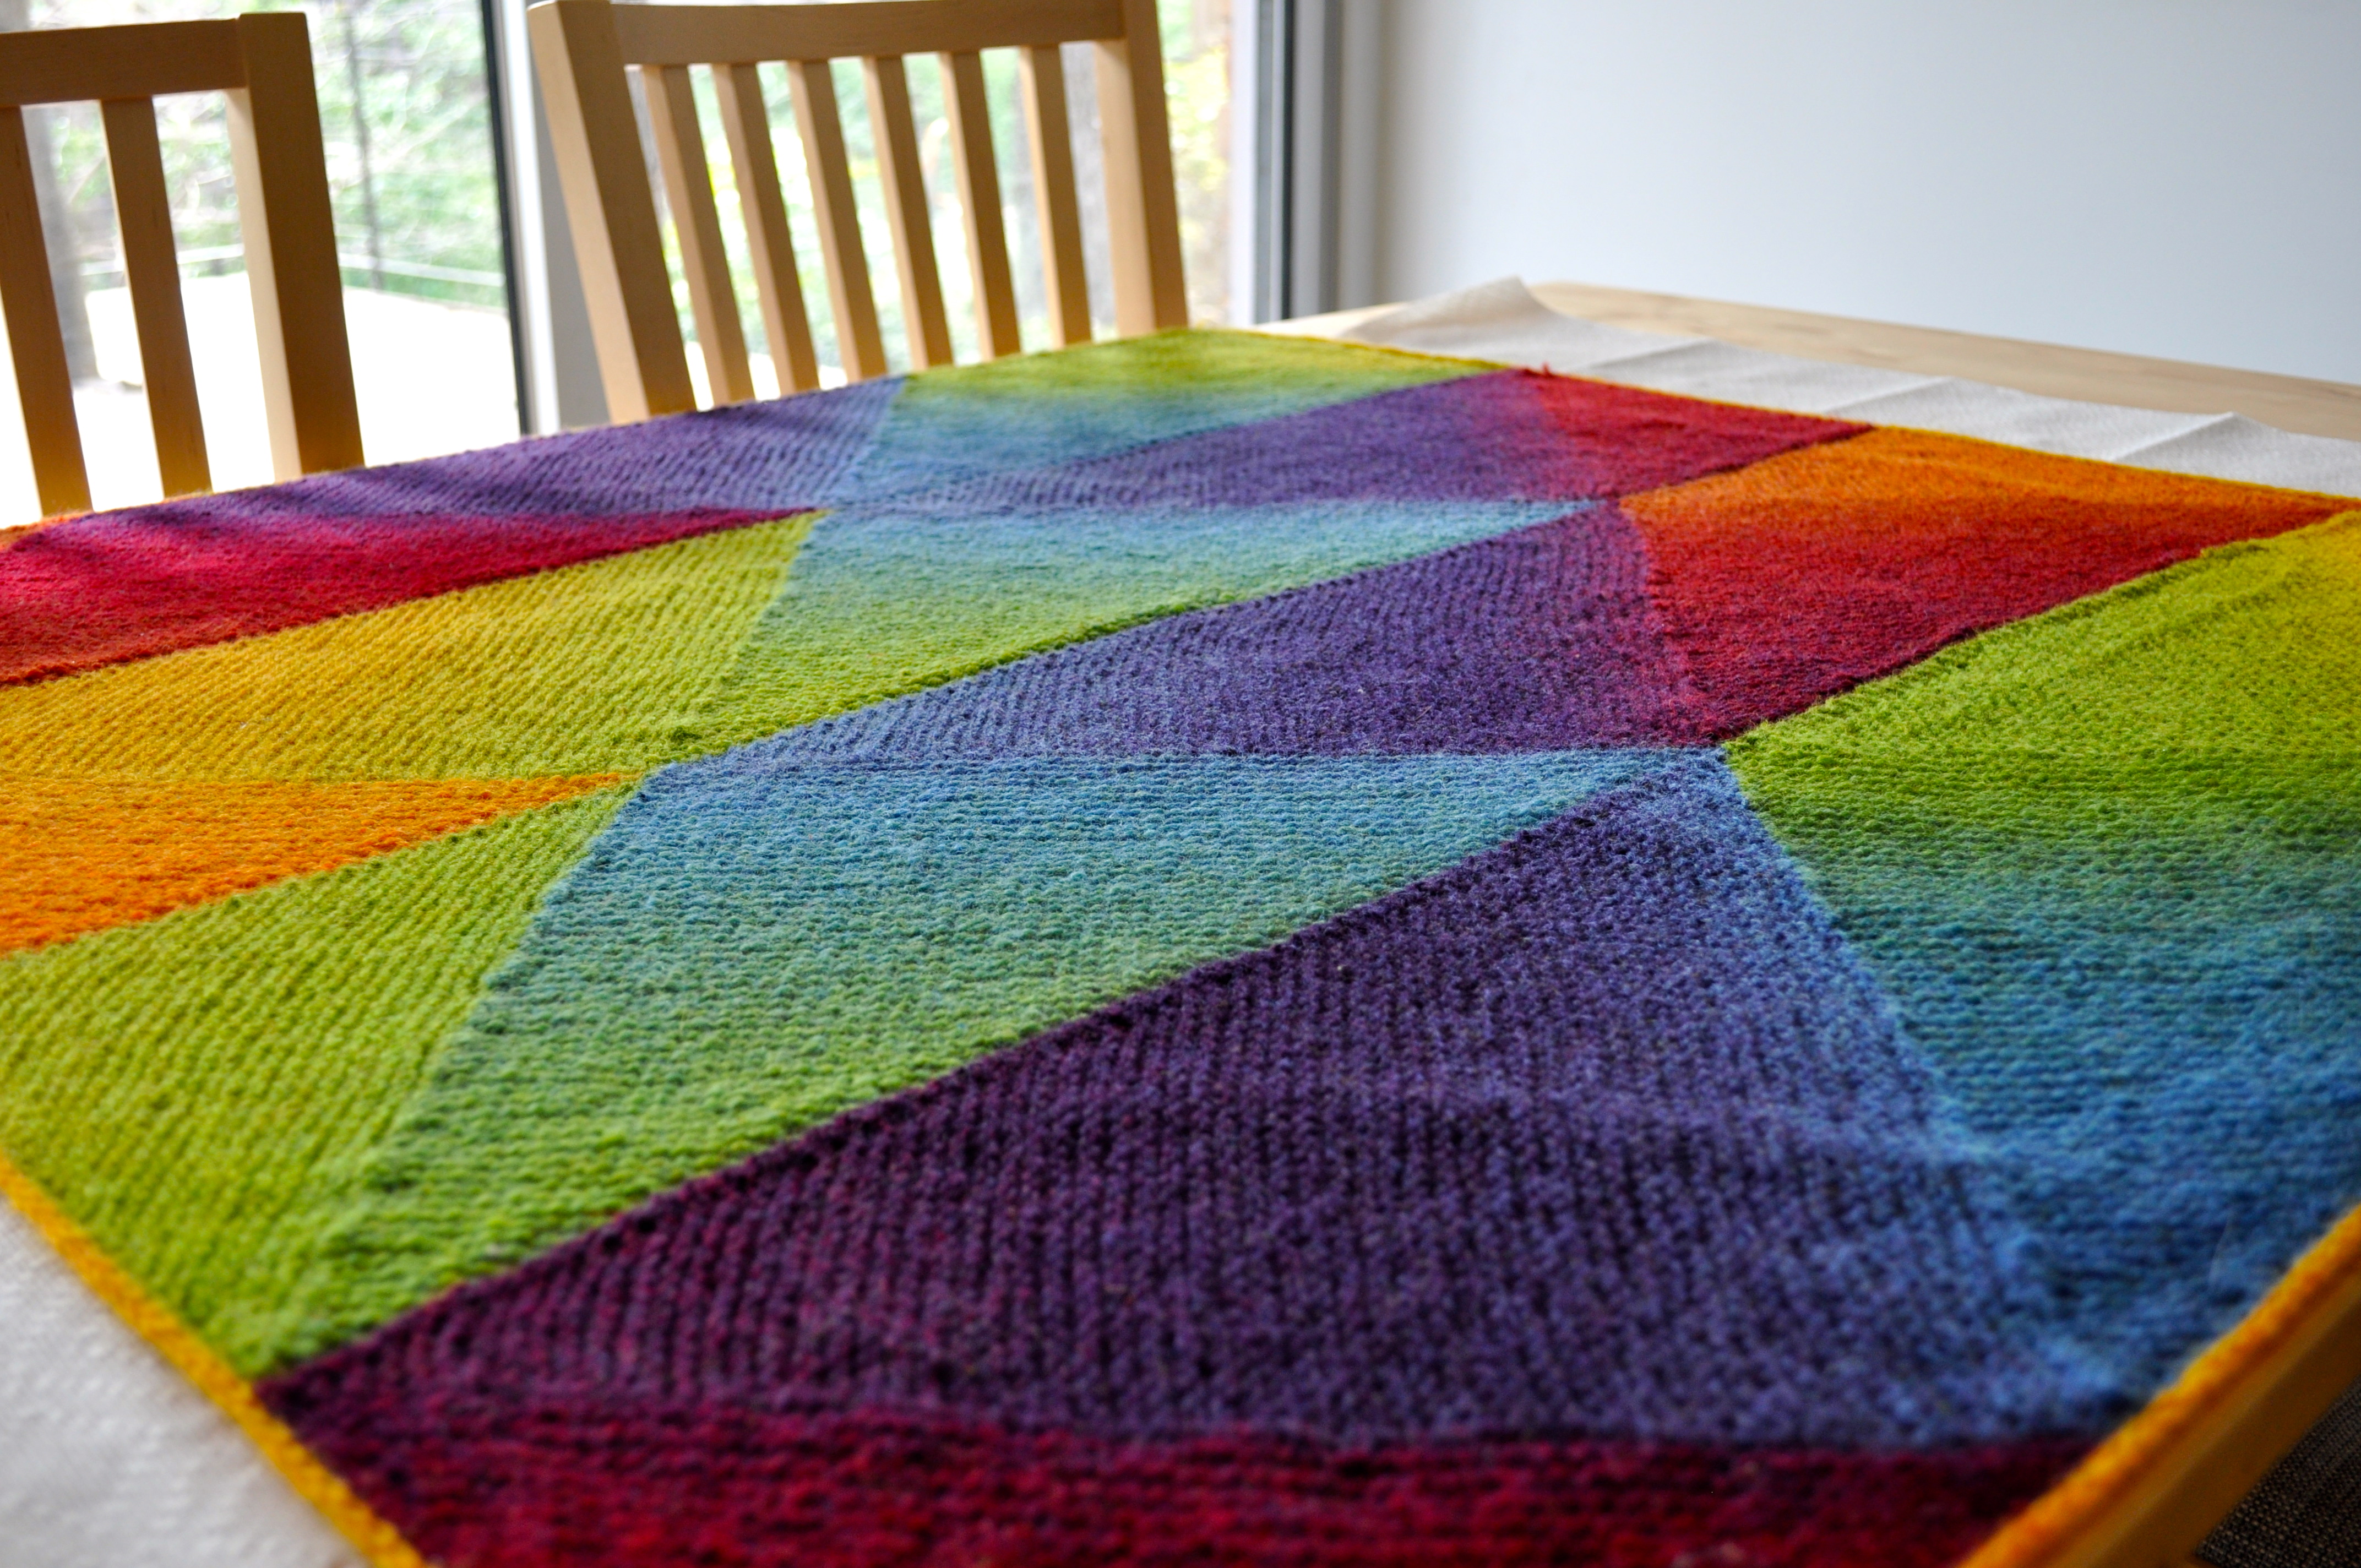
 I chose Kauni Effektgarn because I loved the colors in the original project. I ended up using the EQ and W-EQ color ways (very similar rainbows, but slightly different – I just mixed up the strips and liked the additional color variation). I only needed two skeins of the yarn! The blanket ended up measuring about 35 x 36 inches with four strips. For each strip, I increased as described in the pattern up to 60 stitches.
 I can hear people out there thinking why would you make a baby blanket out of Kauni and I get it – it was a bit scratchy. It softened up some after a soak in wool wash, but was still a little bit rough, so I sent along a couple of soft receiving blankets to be used with the blankie. Receiving blanket on the inside for softness, wooly blanket on the outside for warmth! I hope this little baby boy loves it!